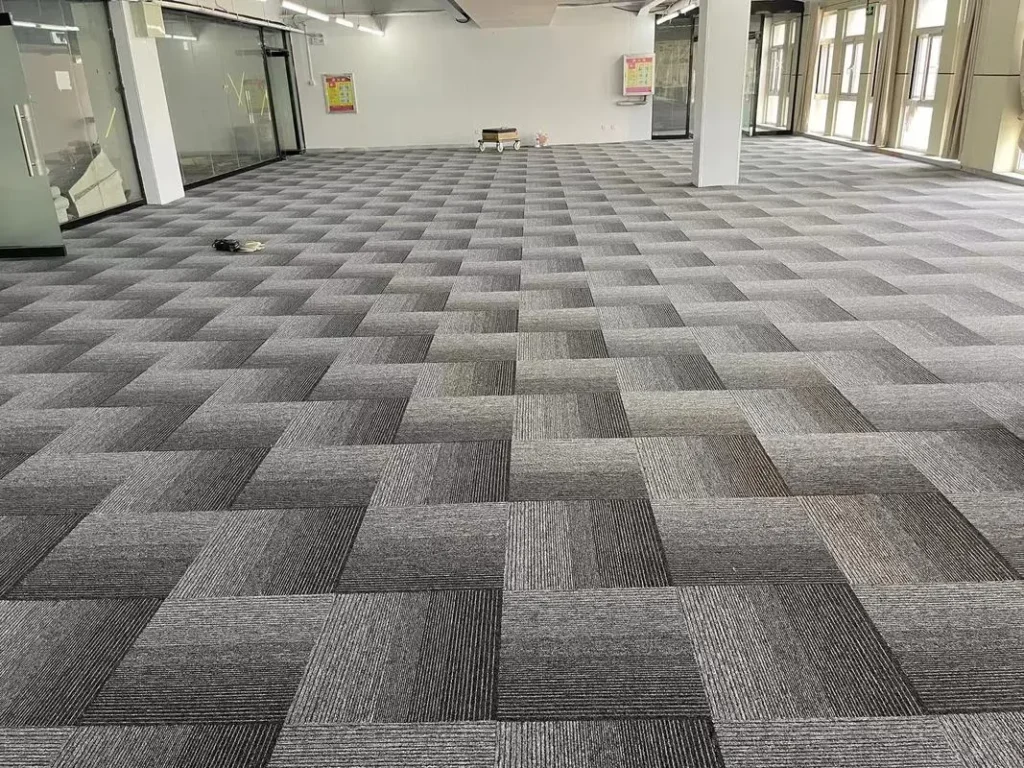
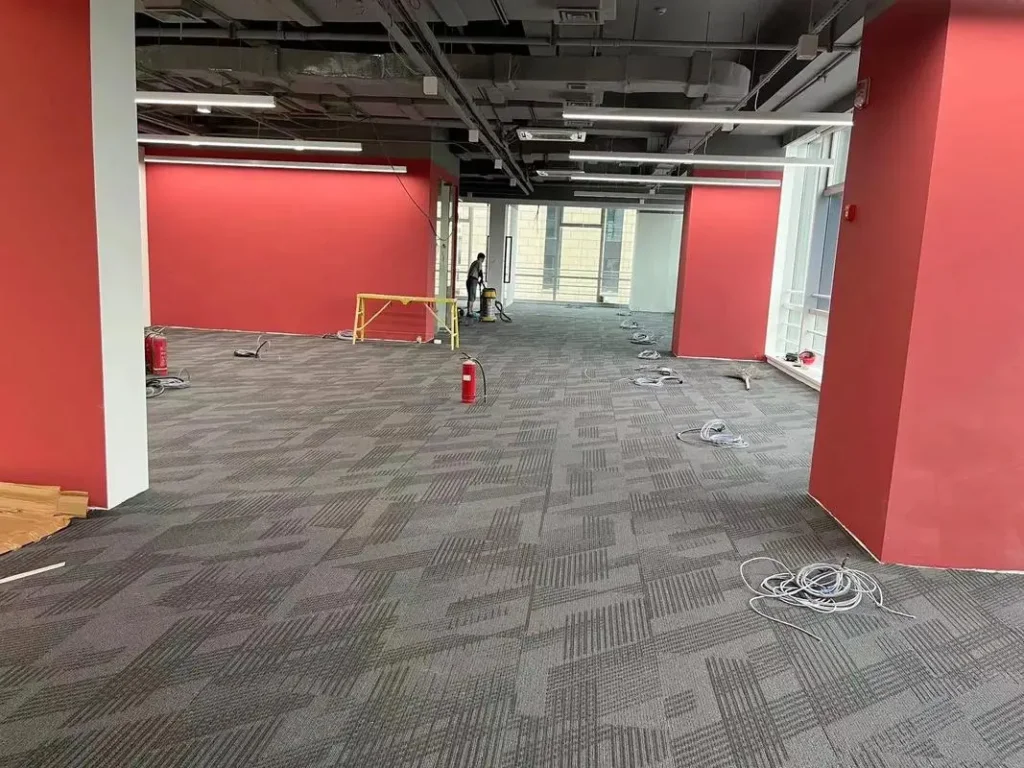
High-end offices often utilize square carpets due to their sound absorption and noise reduction properties, creating a more comfortable and productive environment. However, proper installation is crucial to maximize their benefits. In this guide, we will detail the correct methods for laying office square carpets, discuss various installation techniques, and outline the materials and tools required. This tutorial is brought to you by QINGDAO ORIENT SANDA TEXTILE CO., LTD, a professional manufacturer of office square carpets.

Types of Square Carpet Backings
Square carpets come with a variety of backings, each requiring specific adhesives for installation:
- Asphalt Backing: Recommended to be installed using glue for a firm hold.
- PVC Backing: Ideal with water-based, environmentally friendly glue.
- Thickened Non-Woven Backing: Compatible with water-based adhesives.
- PU Soft Backing: Best paired with eco-friendly glue options.
To simplify the installation process for square carpets purchased online, environmentally friendly carpet patches are widely available. These patches reduce the risk of odors and formaldehyde, making them a safer choice for indoor use.
Carpet Installation Methods
Square carpets can be installed using either fixed or non-fixed methods:
- Fixed Carpet Laying Method:
- Carpets are glued directly to the ground or fully covered and spliced into larger sections, secured with wooden strips or adhesive around the edges.
- Commonly used for office spaces to ensure durability and stability.
- Non-Fixed Carpet Laying Method:
- Typically used in residential settings for small craft carpets in living rooms, bedrooms, or studies.
- Carpets are laid flat without adhesives, allowing easy removal or repositioning.
Step-by-Step Guide for Fixed Installation of Office Square Carpets
The fixed carpet laying method is preferred for office square carpets, offering a seamless and professional finish. Follow these detailed steps for optimal results:
- Since the square carpet has relatively high requirements for the ground, the ground generally needs to be self-leveled to ensure that there are no potholes and bulges on the ground, so as to ensure that the square carpet is laid out beautifully and durable.
- Before laying the square carpet, the ground must be thoroughly cleaned to ensure that there is no obvious dust and debris on the ground, so that it is convenient to brush glue on the ground and ensure the adhesion of glue to the back of the square carpet.
- Use the line to find the starting point of laying. Calculate the starting position of laying to save materials according to the size of the room. Use the ink fountain to cross and draw two vertical lines, and lay from the intersection to the surrounding areas.
- Determine the laying effect of the square carpet. Conventional square carpet laying is divided into: straight laying (that is, all carpets are laid in one direction), horizontal and vertical laying (that is, the carpets are laid horizontally and vertically), Pinyin (that is, the second carpet is half of the first carpet), and random splicing (arbitrary splicing of personalized patterns). For the first three laying methods, pay attention to the direction of the wool on the carpet surface. Do not lay it upside down, otherwise it is easy to produce the phenomenon of straight wool and color difference. There are arrows on the back of the carpet. Lay it according to the direction of the arrow.
- Apply glue to the ground, which is divided into spot coating and full coating. Wait for the glue to dry for 5-10 minutes and reach the bonding state. Lay the square carpet. Note that each square carpet must be squeezed tightly against each other, so that no obvious splicing seams can be seen, and the square carpet will not be easy to loosen.
- When laying the carpet near the wall, door, or pillar, cut the carpet neatly from the back with a sharp cutter according to the size, and lay the cut carpet.
- Arrange the fluff on the surface of the carpet. After laying the carpet, tidy up the fluff at the seams and rub it left and right so that the fluff on the surface of the carpet crosses each other and there is no gap on the carpet surface. Use a special carpet closing strip at the junction of the carpet and the door to fix the edge of the carpet to prevent hair loss and kicking when walking.
Additional Tips for Successful Carpet Installation
- Choose the Right Tools:
- Essential tools include a cutter, measuring tape, adhesive, chalk line, and a carpet roller for pressing the carpets into place.
- Use protective gear such as gloves and a mask when working with adhesives.
- Consider Environmental Factors:
- Maintain an indoor temperature of 18-25°C during installation for optimal adhesive performance.
- Allow the carpets to acclimate to the room temperature for 24 hours before installation.
- Post-Installation Care:
- Avoid heavy foot traffic on the carpets for at least 24 hours to ensure proper adhesive bonding.
- Regularly vacuum and clean the carpets to maintain their appearance and longevity.
By following this comprehensive guide, you can ensure a professional and durable installation of square carpets in office spaces. For high-quality carpets and expert advice, trust QINGDAO ORIENT SANDA TEXTILE CO., LTD’s extensive experience in carpet manufacturing and installation.


